Friday, September 7, 2012

Wisteria Earrings

Wisteria Earrings
A bit of Springtime, made with seed beads

Wisteria Earrings - Beadwork


We had a huge wall of wisteria along one side of my house when I was a kid and I have always remembered it fondly. Having no room for such a wonder in my current living situation, these will just have to do for now. :-) These earrings look absolutely luscious on and they are very easy to make. It shouldn't take you more than 4 hours to make your first pair and should go even faster with practice.

What You'll Need
  • Size A Nymo beading thread or equivalent (white or light green)
  • Size 13 beading needle
  • 2 earring wires
  • About 310 light green transparent size 11 seed beads (less than 1/10th of a hank)
  • About 366 pink-lined blue (or any other purple bead) sized 11 seed beads (less than 1/10th of a hank)
Note: When I refer to the "back" of a bead, I mean the side opposite where your thread is coming out.


The earring is made up of a stem with 5 sets of branches radiating from it. Each set contains 4 branches. Each set is separated from the next by 5 green stem beads.

Begin by tying a single green seed bead to the end of your thread. Leave a nice long tail to weave back in later. I will refer to this first bead and the other beads that serve the same function as the "center bead." Go through the bead once, and pick up 10 more green beads and three purple beads. Go through the back of the last green bead, then through the front of the next two.


Pick up 3 more purple beads and go through the back of the green bead your thread is coming out of and through the next two green beads.


Repeat the previous step 3 more times, for a total of 5 purple loops counting the one on the end. Basically what you are doing is adding a little purple loop to every other green bead starting from the last and working back toward the center bead. After you add the fifth purple loop, go through the first green bead of the ten you originally added. Now re-enter the center bead from the back. You have now completed your first "branch." Make 3 more branches in the same manner as the first so that you end up with 4 branches radiating out from the center bead. Your thread should be coming out of the center bead.

Pick up 14 green beads and 3 purple ones. The first 5 are part of the stem, the 6th green bead will act as the center bead for the next set of branches, the next 8 make up the first branch of the second set. The second set of branches are made the same way as the first, ie go through the back of the last green bead, through the front of the next two, add a purple loop, etc. The only difference is that each branch in this set is 8 green beads long instead of 10 and has only 4 purple loops. Finish off the set by adding 3 more 8-bead branches.

Now we need to add the 3rd set of branches. The branches of each set are two beads shorter than the branches of the previous set, so pick up 5 stem beads, 1 center bead, and 6 branch beads (12 green) plus 3 purple flower beads. This set of branches has 3 purple flower loops per branch.

The 4th set of branches contain 4 branch beads and 2 purple loops per branch and the 5th set contains 2 branch beads per branch and only one loop. Each set is always separated from the last by 5 stem beads. So, whenever you finish a set, pick up 5 stem beads, 1 center bead and however many branch beads are called for in the next set. Add 3 purple beads and you are set to start the first branch of the next set.

Once you finish the 5th set, finish the earring by picking up 5 more stem beads and three purple beads. Go through the back of the fifth stem bead and up through the entire stem to the top. Pick up 2 green beads, your earring wire, and two more green beads go back down through the entire stem, around the purple loop at the bottom and up again through the stem and the loop containing the earring wire. Repeat this circuit through the stem and earring wire loop as many times as you can while still leaving enough room to weave in the tail you left when you started.

Jalapeno Popper Wonton Bites


I shared a chipotle jalapeno popper wonton cup recipe just a few days ago… This recipe doesn’t have chipotle in it. It’s also panfried, not baked. But I really think that I could have baked these, too. Or of course, you can fry them if you want.

I love using wonton wrappers in my cooking.. I never knew that you could make so many variety of things with wonton wrappers. Soon, I will do a recap of all the recipes using wonton wrappers. Some people have asked where they can find these wonton wrappers. They are usually located in the area where you can get tofu and bean sprouts, or other refrigerated Asian ingredients are.

Some grocery stores only have square ones but occasionally, you can also find round ones… which makes the authentic half moon shaped Korean or Japanese potstickers. These little popper bites are made with the square wrappers.

To make the popper bites, you will need canned jalapenos. Chop jalapenos and you will need about 2 tablespoons.

Combine cream cheese, jalapenos, and smoked paprika (optional).

Place a spoonful of the cream cheese mixture in the center of a square wonton wrapper as shown in the picture above. Wet the edges of the wrapper using your fingertips. Roll lightly to wrap as shown in the picture above.

I didn’t bake these this time, but simply panfried them. But I think baking would work just as good. Just spray the wonton bites with cooking spray and bake at 375 degrees F for 8-10 minutes or until golden brown. If you prefer panfrying, heat oil in pan and cook the wonton bites until golden brown. Or of course, you can fry them, too! The choice is yours.
Jalapeno Popper Wonton Bites
Print
Ingredients
  • 4 ounces light cream cheese
  • 2 tablespoons canned jalapeno peppers, chopped
  • pinch of smoked paprika (optional)
  • 8 square wonton wrappers
  • oil/cooking spray
  • sweet chili sauce, to serve
Directions
  1. Combine cream cheese, jalapeno peppers, and paprika in small bowl and mix well.
  2. Place a spoonful of the mixture in the center of wonton wrapper. Wet all edges of the wrapper using fingertips. (Wet your fingertips with water.) Roll gently and seal.
  3. For baking; spray the prepared wontons with cooking spray and bake at 375 degrees F for 8-10 minutes, or until the wrappers are golden brown.
  4. For panfrying; heat about 2 tablespoons olive oil and fry the wontons both sides until golden brown.
  5. For frying; heat oil and deep fry until golden brown.
  6. Serve with sweet chili sauce if desired.

Tiny Witch Doll Free Bead Pattern

Tiny Witch Doll Free Bead Pattern
Made with Seed Beads and Tubular Peyote Stitch


Print Friendly Page

Here's what you'll need to make your own 3 Dimensional Tiny Witch Doll:

1 hank black size 11 seed beads . The doll in the picture was made with matte black Czech seed beads.

A few red and white seed beads.

A few brown seed beads. Matte topaz iris Delicas were used in the sample

1 black pony bead per witch.

1 4mm round bead per witch. The bead used in the sample is a translucent yellowish off-white.

Size 0 black Nymo.

Size 13 needle.


The construction of this little doll is similar in many ways to the Realistic Fuchsia Earrings bead pattern, but much easier! The Tiny Witch Doll can be beaded in a single evening once the bead pattern and assembly process is understood.

Thread the needle with doubled, waxed thread. Pick up eight black seed beads and tie them in a circle. This circle is the doll's waist. Next, add the doll's legs. This step is optional, depending on the finished doll desired. The beaded Witch Doll made without legs will stand up on its own. With legs, it will not stand up on its own.

Pick up ten seed beads with the following color sequence: red, white, red, white, red, white, red, 3 black. The three black seed beads form the boot. Skip two of the black beads and go up through the third one and the rest of the leg. Pass the needle through the back of the bead your originally left. Continue around the waist to the bead opposite the one you attached the first leg to. Add the second leg in the same manner as the first.


Next, add the skirt. Pick up 15 beads then go back up through the first of them to form a loop. Then pass the needle back through the back of the same at the doll's waist area. Go forward through the next waist bead, pick up 15 beads, go up through the first of them, through the back of the bead you left and through the next waist bead. Repeat this process for each waist bead until you have 8 loops.


The torso is made from a short Even Count Tubular Peyote section. Use the waist circle as the base row (first two rows for Peyote stitch). Add rounds until there is a stack of three beads over each of the waist beads.


Close off the tube by going through the four beads added in the final round. Go through them several times until they stay put.


Now add the arms. Go through the bead one row below the bead from which your thread exits. Pick up 5 beads, skip the fifth one and go back through the rest of them and through the back of the bead you originally left. Weave your way to the other side of the torso. Add the second arm in the same manner as you added the first. Weave back up to the upper-most row. Now set the body of the doll aside and thread a new needle for the hat.


Pick up 24 beads with the new needle. Tie them in a circle. Go through the first bead in the circle. Pick up a bead and go through the back of the bead from which your thread exits. Continue through the next two beads in the circle. Pick up a bead and go through the back of the bead from which your thread exits. Continue through the next two beads in the circle. Repeat this process all the way around the circle until 12 beads have been added.


Go around the new circle of twelve beads to connect them. This circle should lie flat inside the larger circle. Now repeat the process used in the previous step, adding 6 beads. Go through the six beads to connect them. This circle will stand up a little. Repeat once more adding three beads. Go through the three several times and weave back into the hat to secure your thread. Trim off any excess thread and set the hat aside.


Now, assemble the doll. Pick up the 4mm bead, go through the center of the hat, and pick up one black seed bead. Go back down through the center of the hat and the 4mm bead. Re-enter the "neck" through the bead opposite the bead from which your thread originally exited. Make the circuit through the 4mm bead, the hat and the seed bead and back down once more, re-entering the neck through the back of the first bead. Weave the thread down to one of the arms (the one you want to be positioned higher on the broom) and out through the end. If earrings are being made, alternate the higher side so that the broom faces the opposite direction on one of the finished dolls.


Pick up 3 brown beads, skip the last one and go back through the other two and the last bead of the arm.


Pick up two more brown beads and go down through the bead on the end of the other arm. Pick up brown beads, the pony bead, and 5 more brown beads. Skip the fifth brown bead and go up through the whole broom including the end bead and back down again through the pony bead. Pick up five more brown beads and make the circuit again. Continue adding bristles to the broom until it becomes difficult to make more thread passes. Weave up through one of the arms and into the body to secure the thread.


Here's a picture of an alternate version, made with jet black 3-cut beads. These 3-cut beads add a nice sparkle but they are bigger and the hat needed to be adjusted to fit. The broom was also altered a bit in this variation. Both bead types make a cute finished witch doll.

Tuesday, September 4, 2012

Coco Puff


I found this recipe on fb
and I just have to say its so good you have try it too

Coco Puff

For those of you that know, the coco puff from Liliha Bakery in Hawaii is an island treasured piece of paradise. It is a cream puff pastry filled with chocolate pudding and topped with a buttery macadamia nut chantilly frosting that is out of this world! This is not Liliha Bakery's recipe but close enough. The original recipe is a highly-guarded secret.

By: A. Honopaa
Not reviewed yet
login to rate | 10 people have saved this recipe


Prep Time: 20 | Cook Time: 20 | Ready In: 40
Ingredients
US Metric
Cream Puff Pastry
  • 1 cup water
  • 1 stick butter
  • 1 cup flour
  • 4 large eggs
Chocolate Filling
  • 1 8oz container coolwhip
  • 2 6 oz boxes instant chocolate pudding mix
  • 2 ¾ cups cold milk
Chantilly Frosting
  • 1 12oz can evaporated milk
  • 1 1/4 cups sugar
  • 2 sticks butter
  • 6 large egg yolks
  • 1 ½ teaspoons vanilla extract
  • ¼ cup chopped toasted macadamia nuts

Order The Professional Pastry Chef Cookbook


Cooking Process
Chantilly Frosting:
Combine milk, sugar, butter, egg yolks and vanilla.
Cook stirring constantly, over medium heat for 15 minutes or until mixture thickens. Add vanilla extract. Chill 1 hour covered with a piece of plastic wrap directly on surface for proper spreading consistency.
Chocolate Filling:
Combine all ingredients and beat with an electric mixer until mixed well.
Cream puff pastry:
Boil water and block of butter. Remove from heat, add flour. Stir until ball of dough forms and pulls away form the sides of saucepan. Mix in eggs one at a time, beat for 1 minute before adding the next. Scoop 1 1/2" balls onto cookie sheet covered in aluminum foil.
Bake at 400 degrees for 15 minutes then lower heat to 325 degrees for 30-35 minute (Puffs should look dry. They should peel off the foil and tip over when nudged gently with a wooden spoon.)
Cool and cut off tops with a serrated knife. Fill, put back tops, frost with chantilly frosting.
* To fill without cutting off the tops, spoon filling into a pastry bag fitted with a large round tip. Poke the tip trough the cream puff and squeeze the bag to fill the puff.

Making Fabric Headbands

Sharing from a blog I found
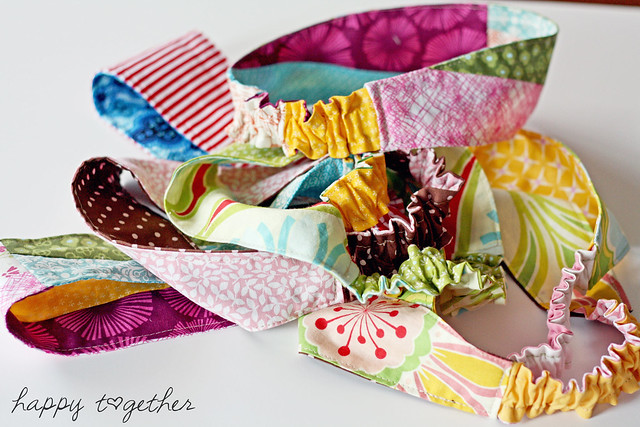
Free Headband Pattern

I have this list of "blog" things I'm trying to finish up before baby E comes, so let's see how I do.


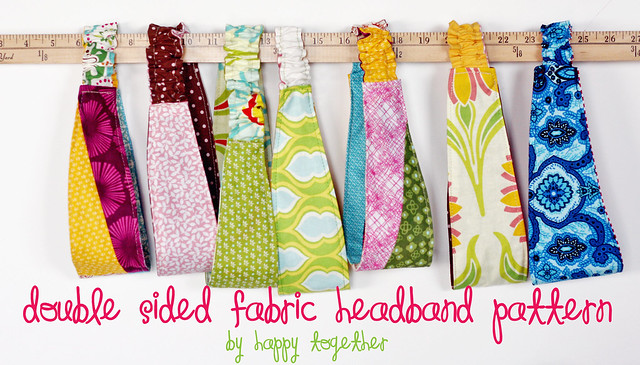
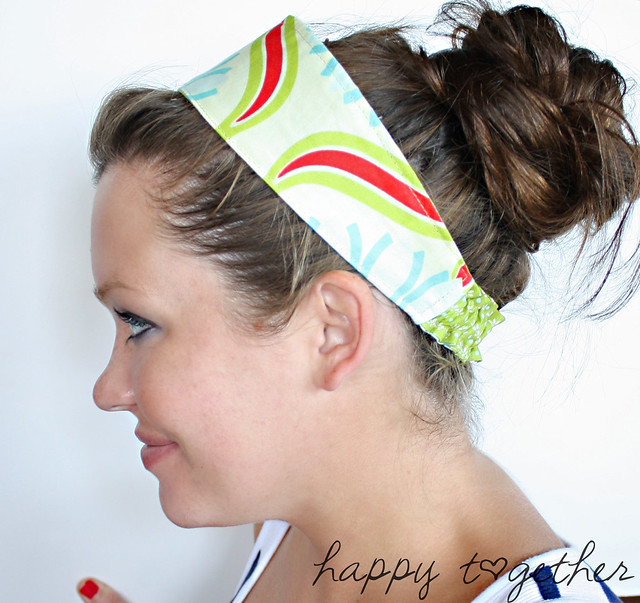
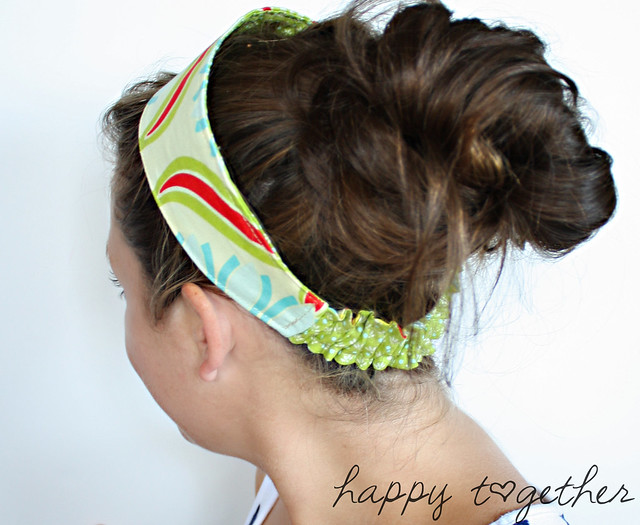
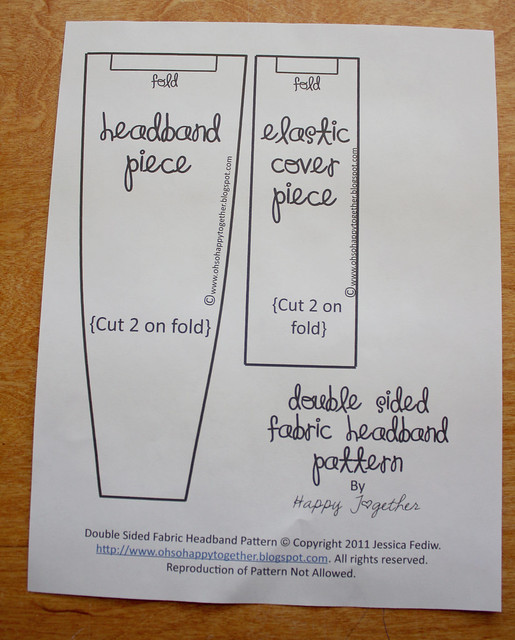
I'm starting with this one: Double Sided Fabric Headband Pattern. I had so many ask about how I made the ones for my daughter's teachers that I digitized the pattern for all of you to use and wrote up instructions.

Simple

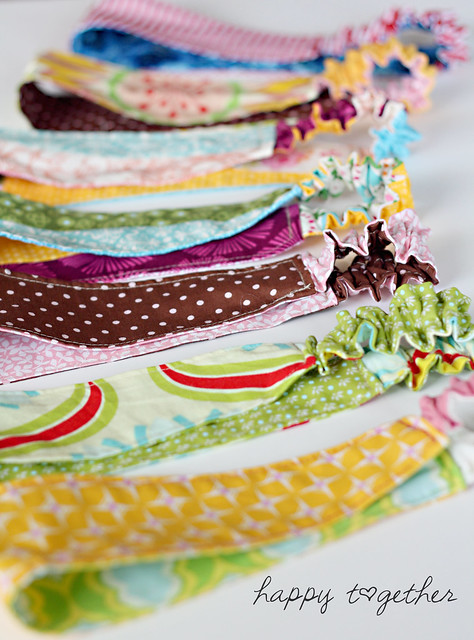
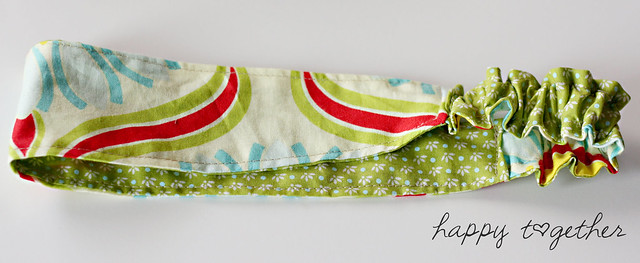
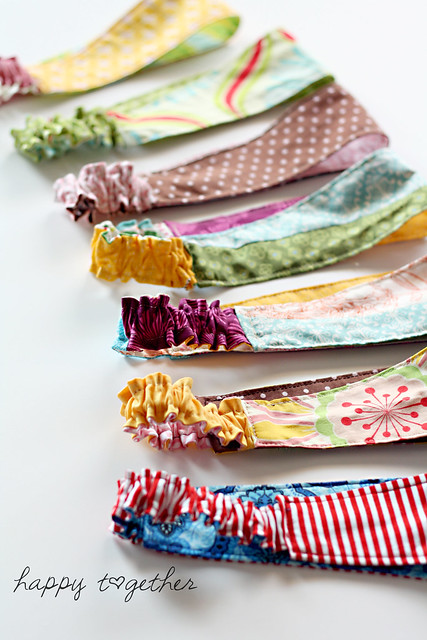
You can make simple ones

Lots of fabrics

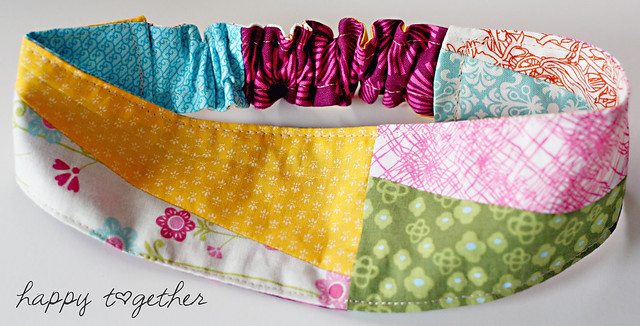
or more elaborate ones. I made these with leftover pieces from my daughters quilt.
Are you ready to make one of your own?

Doublesided HeadbandHeadband on

What you need:
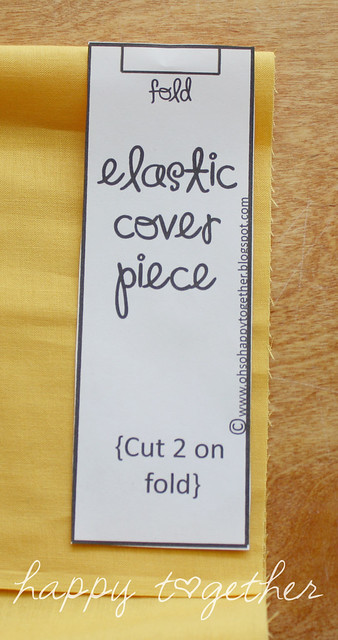
-Download the pattern from here {there's a 1 inch line on it to make sure it's printed the correct size for you}
-Fabric for the headband and elastic cover
-5.5 inches of 1/2" or 3/4" elastic (this can be adjusted if needed)

Notes:
-Always back stitch at the beginning and end of sewing, unless otherwise stated.
-Seam allowances are 1/4" unless otherwise stated.
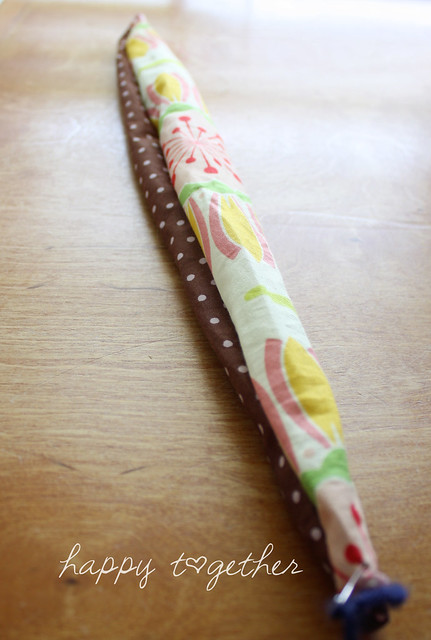
1. Once you print out your pattern, cut the pattern pieces out.
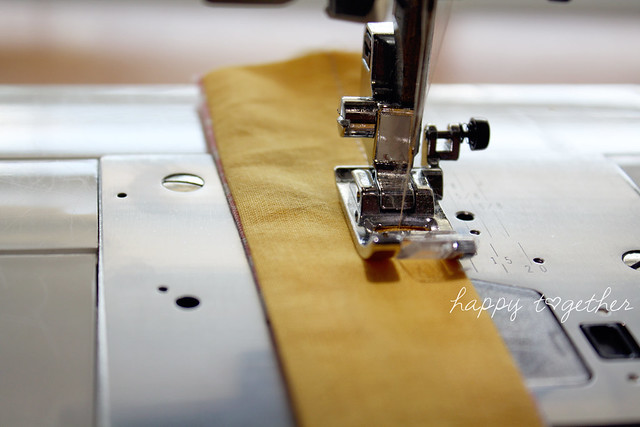
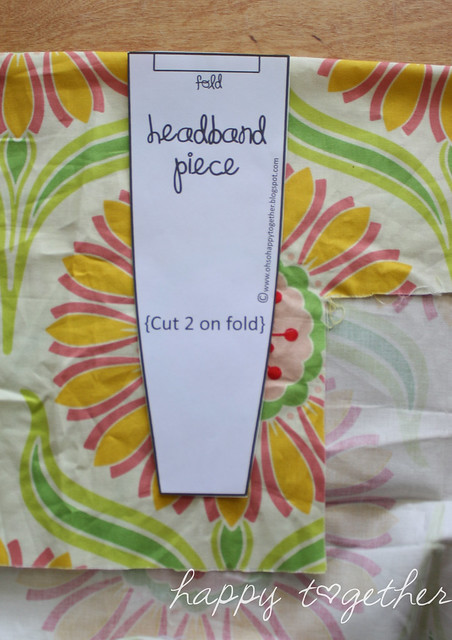
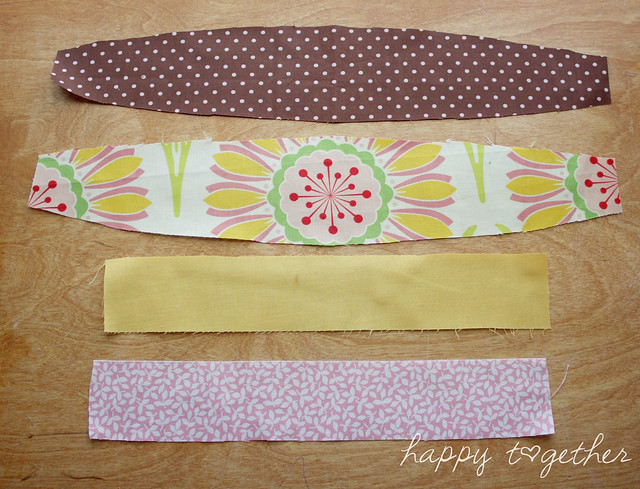
Pattern pieces

2. Cut out two pieces for the headband, making sure the pattern piece is on the fabric fold.


3. Cut out two pieces for the elastic cover (if you make your elastic piece longer, increase the length of these pieces as well). Again, make sure the pattern piece is on the fabric fold.


4. Cut your piece of elastic to be 5.5" long.

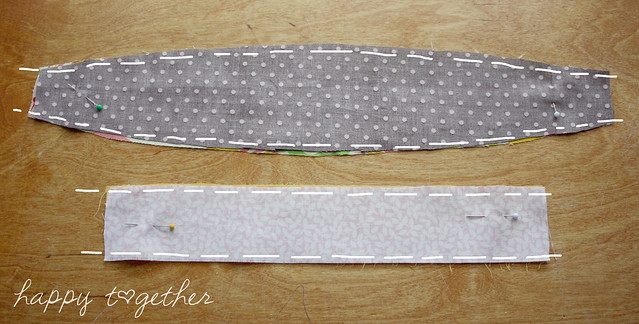
5. Place the a headband fabric piece and elastic cover fabric piece down, right sides facing up. Then place the second pieces on top of them, right sides facing down. Make sure to match up the sides and pin together.

6. Sew down the sides of the headband and the elastic cover.


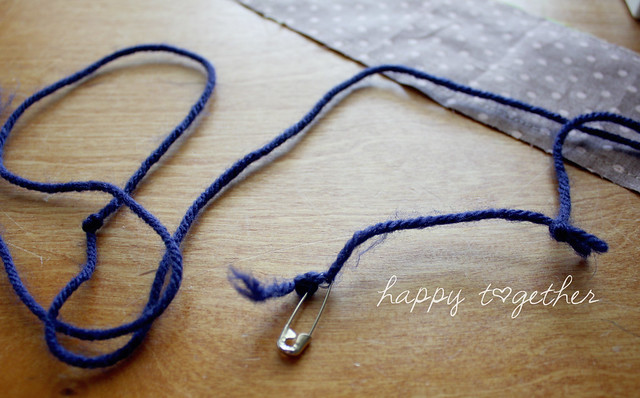
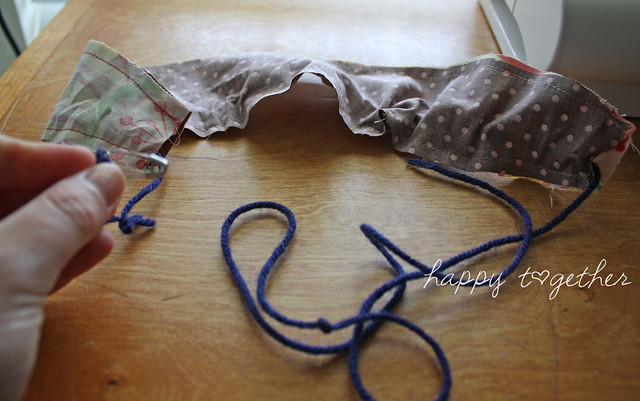
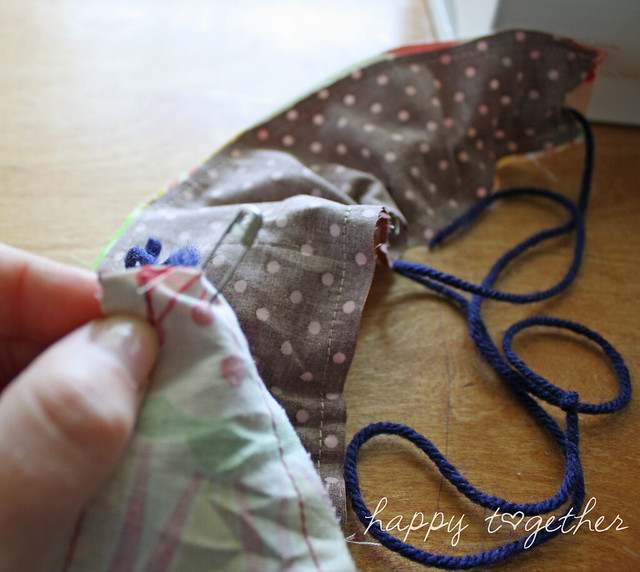
7. Turn each piece right side out. I do this by attaching a long piece of yarn to a safety pin.


Then I slide the safety pin through the what needs to be turned


and then pin one side of the end.


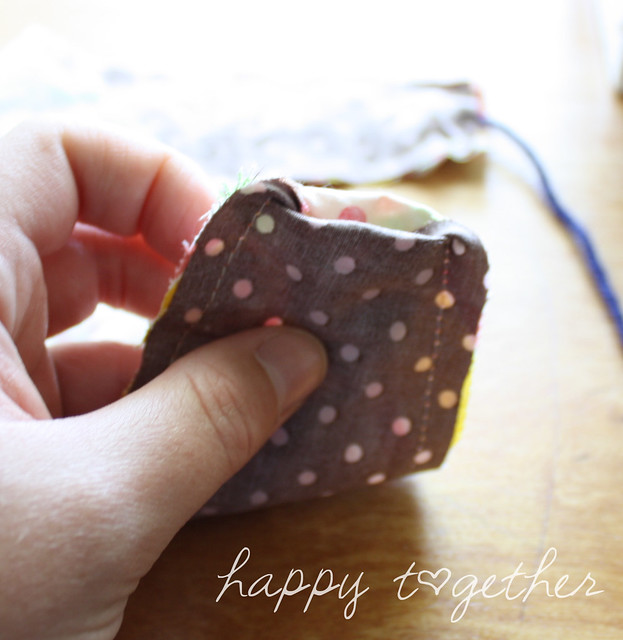
Tuck in the end that has the safety pin a little


and then pull the yarn on the other end and it will be right side out.


8. I use a long stick to push out the seams from the inside and then iron, but you can just iron each piece if you like. I just don't like the fabric overlapping on the sides too much.

9. Now take the elastic cover piece and sew down each long side. This creates a middle casing for the elastic.


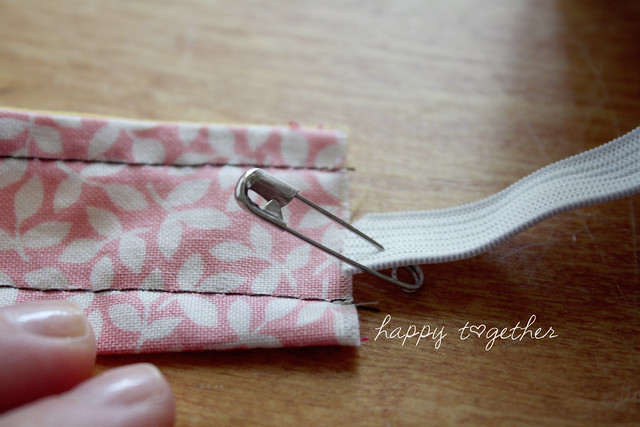
10. Add a safety pin to the end of the elastic and start to slide the elastic through the elastic cover. Make sure to stop before the end without the safety pin is inside.


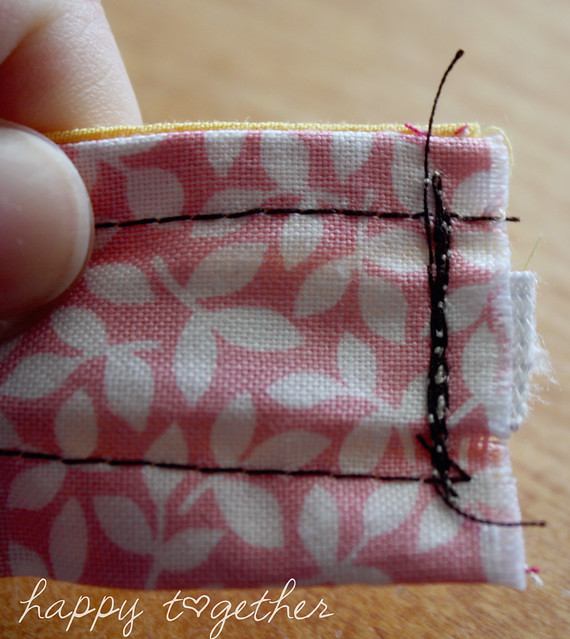
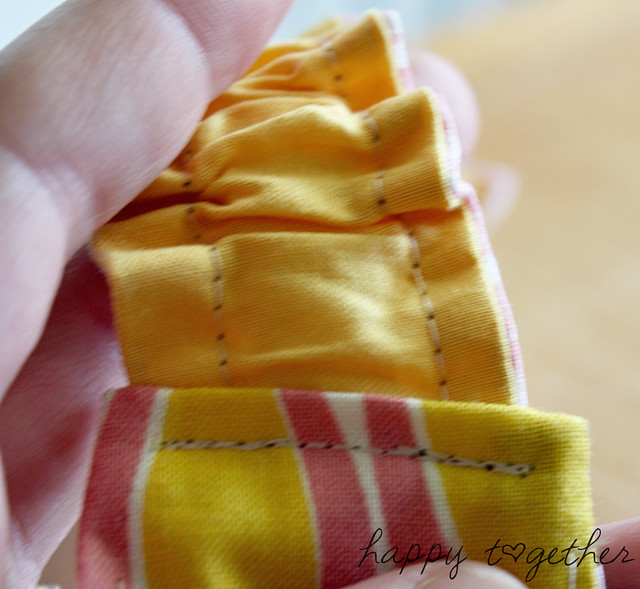
11. Once the side without the safety pin is at the opening, sew it in place so it won't go anywhere.


12. Continue to push the safety pin through the casing until the other end of the elastic is at the other edge. Sew that in place as well.


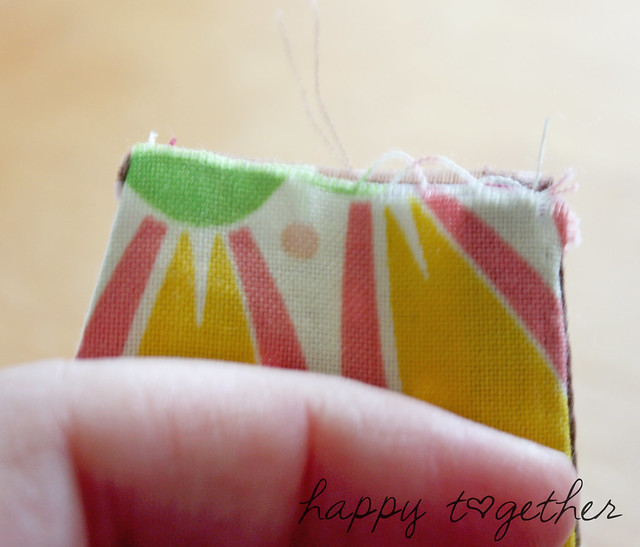
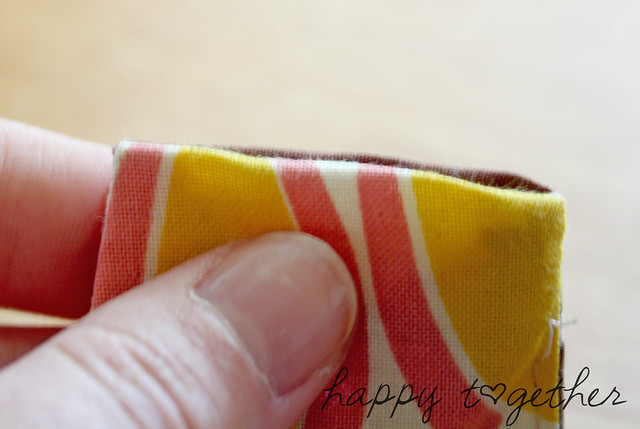
13. On each end of the headband piece,


turn in some so no raw edges are showing.


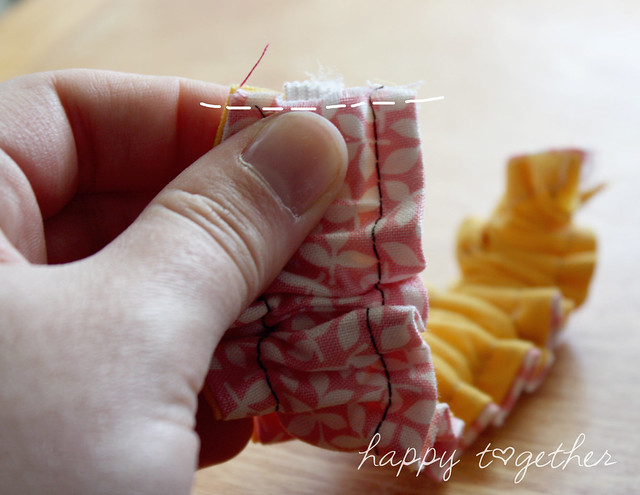
14. Slip in the elastic band until the place where you sewed is no longer visible and sew in place.


15. Repeat #14 on the other side.

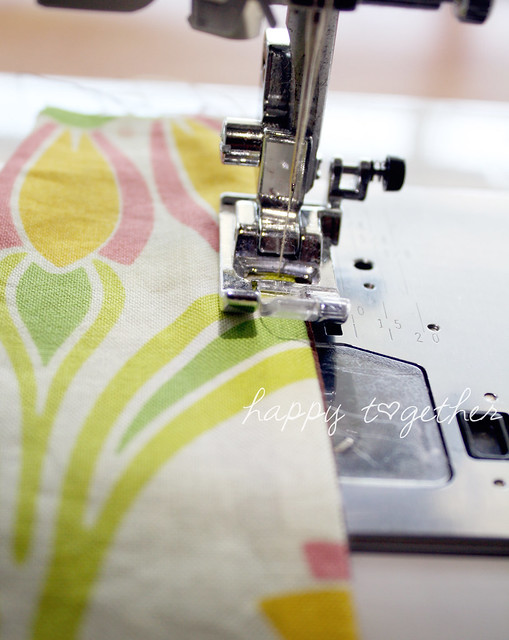
16. Top stitch the sides of the headband part if desired (I sew closer to the edge than 1/4").


They are simple to make and if you plan it well you can whip up a bunch at the same time assembly line style like. Then you have a bunch for yourself or gifts for the ladies in your life :) Most of these will probably be Christmas presents. Great, huh? And it's only July!!!!!

If you make some, share with us in the flickr group or on the fb fanpage


All piled up