I have this list of "blog" things I'm trying to finish up before baby E comes, so let's see how I do.
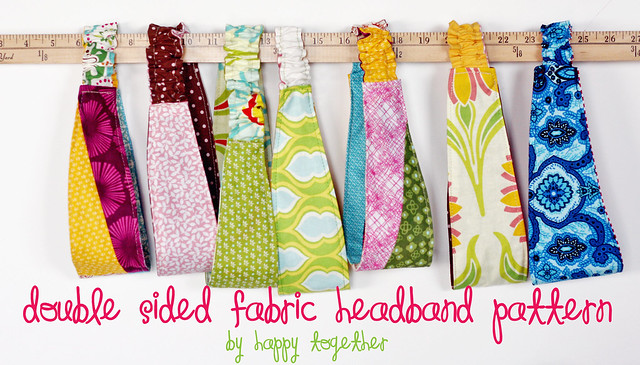
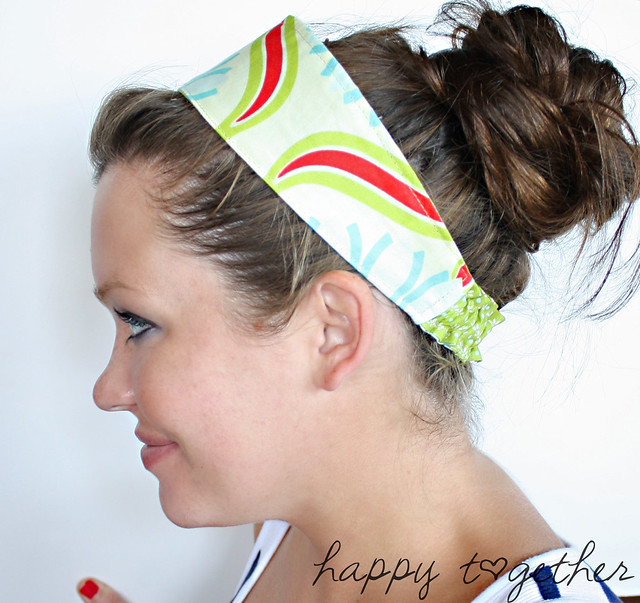
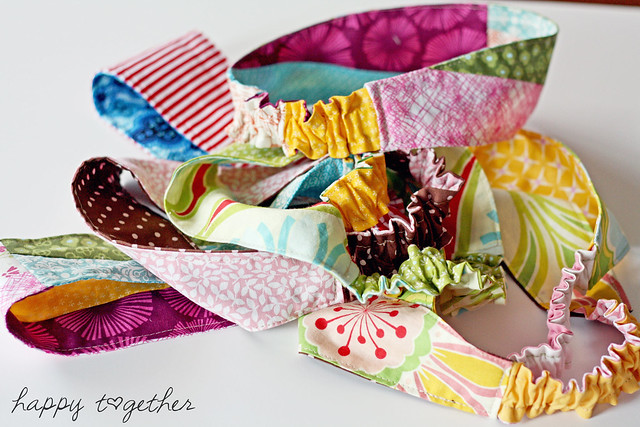
I'm starting with this one: Double Sided Fabric Headband Pattern. I had so many ask about how I made the ones for my daughter's teachers that I digitized the pattern for all of you to use and wrote up instructions.
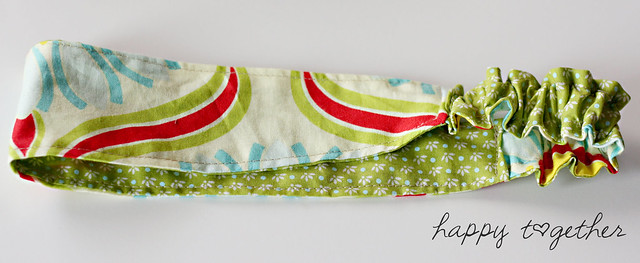
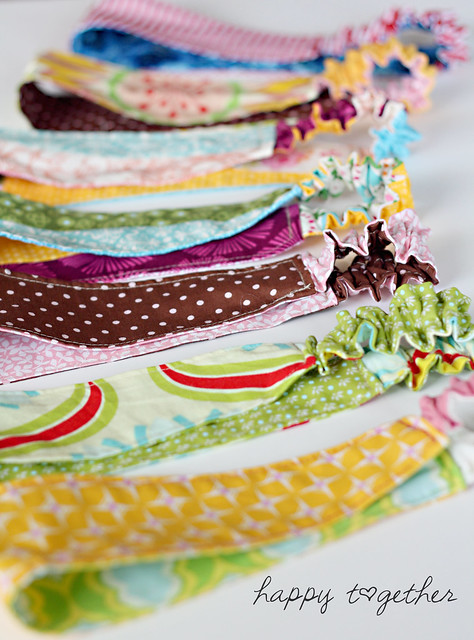
You can make simple ones
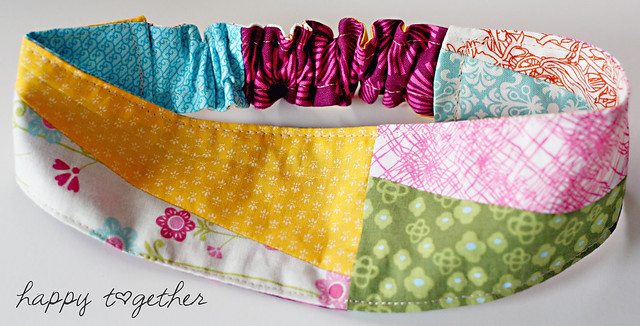
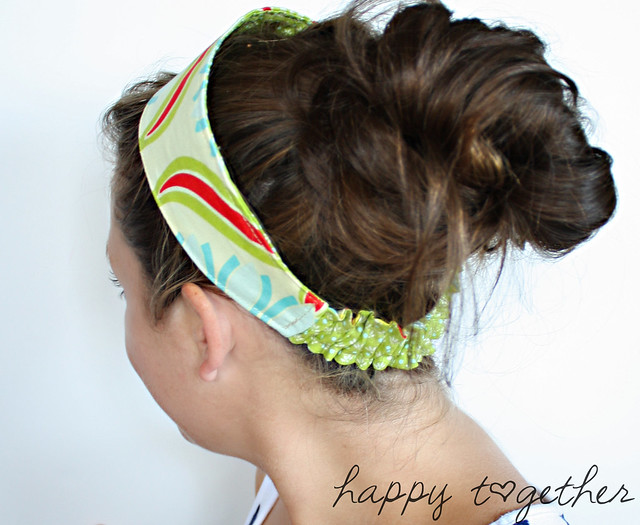
or more elaborate ones. I made these with leftover pieces from my daughters quilt.
Are you ready to make one of your own?
What you need:
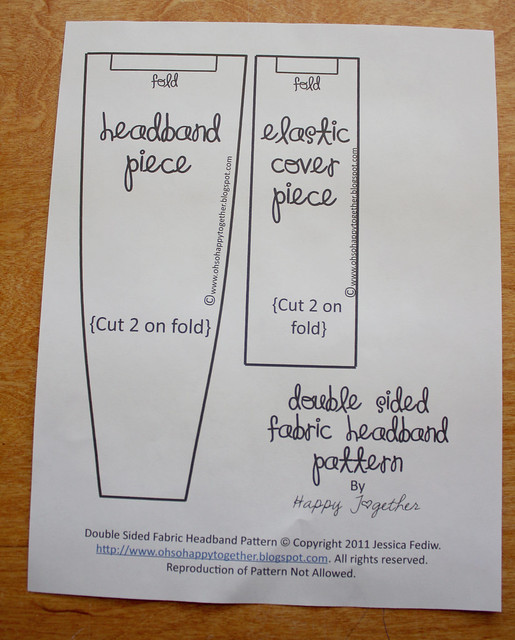
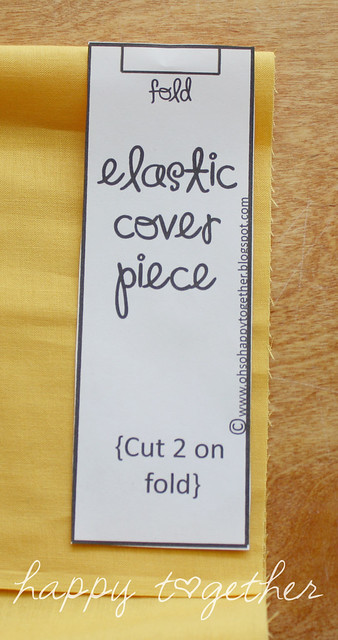
-Download the pattern from here {there's a 1 inch line on it to make sure it's printed the correct size for you}
-Fabric for the headband and elastic cover
-5.5 inches of 1/2" or 3/4" elastic (this can be adjusted if needed)
Notes:
-Always back stitch at the beginning and end of sewing, unless otherwise stated.
-Seam allowances are 1/4" unless otherwise stated.
1. Once you print out your pattern, cut the pattern pieces out.
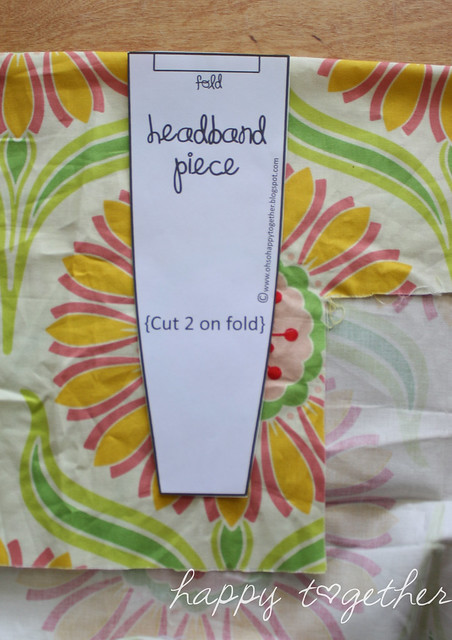
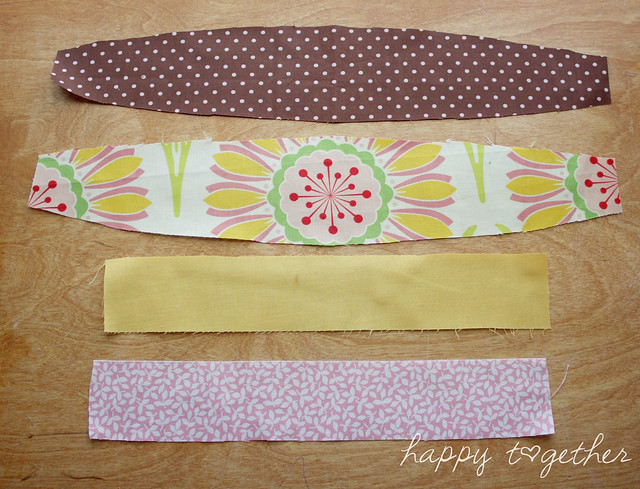
2. Cut out two pieces for the headband, making sure the pattern piece is on the fabric fold.
3. Cut out two pieces for the elastic cover (if you make your elastic piece longer, increase the length of these pieces as well). Again, make sure the pattern piece is on the fabric fold.
4. Cut your piece of elastic to be 5.5" long.
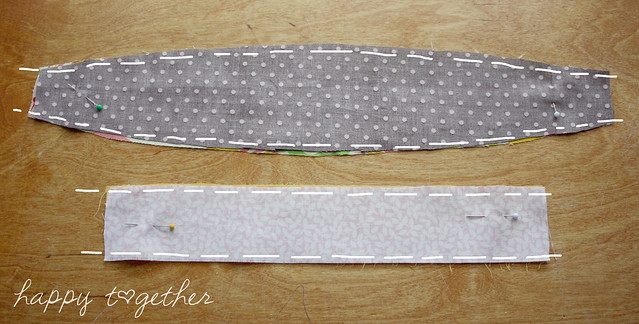
5. Place the a headband fabric piece and elastic cover fabric piece down, right sides facing up. Then place the second pieces on top of them, right sides facing down. Make sure to match up the sides and pin together.
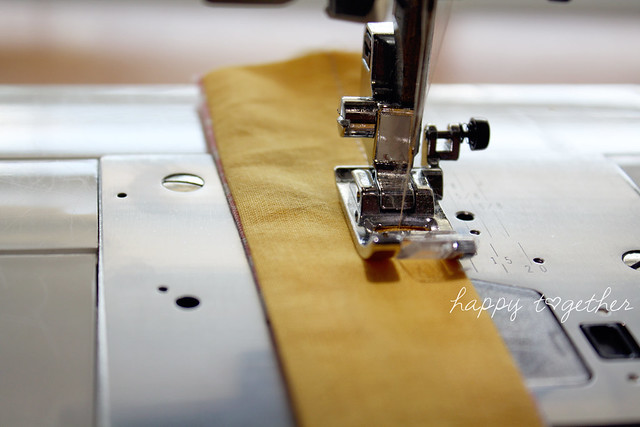
6. Sew down the sides of the headband and the elastic cover.
7. Turn each piece right side out. I do this by attaching a long piece of yarn to a safety pin.
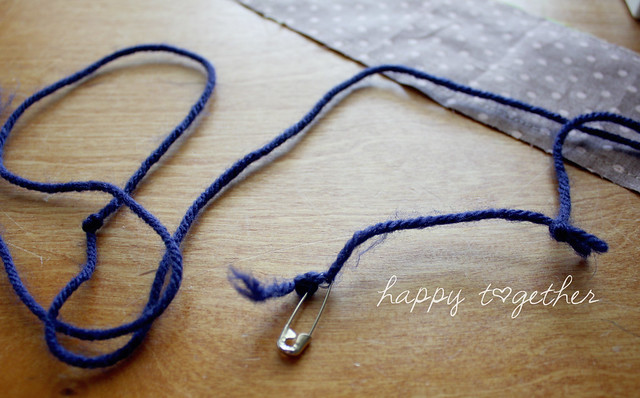
Then I slide the safety pin through the what needs to be turned
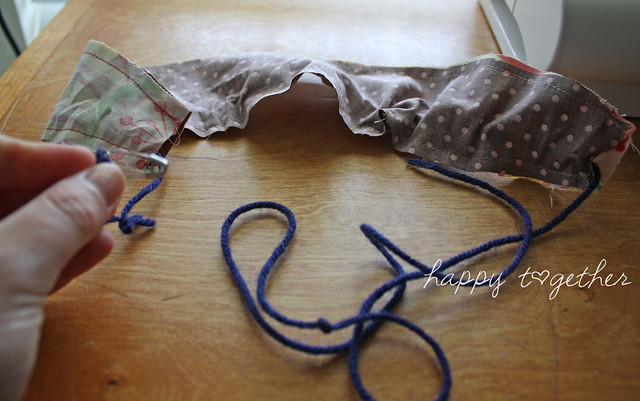
and then pin one side of the end.
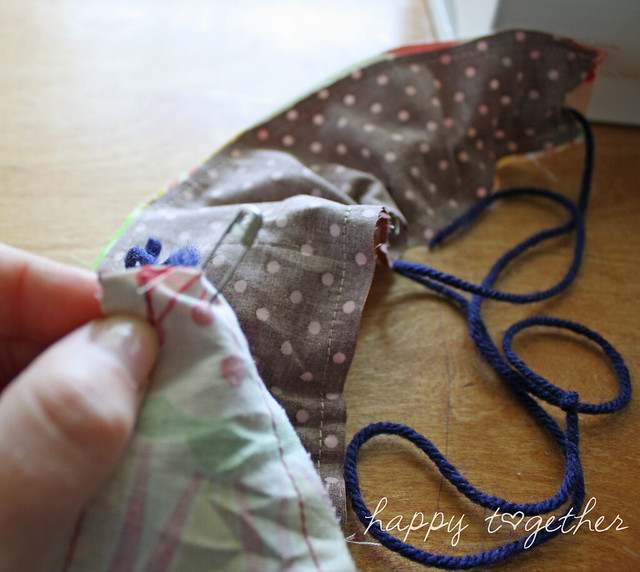
Tuck in the end that has the safety pin a little
and then pull the yarn on the other end and it will be right side out.
8. I use a long stick to push out the seams from the inside and then iron, but you can just iron each piece if you like. I just don't like the fabric overlapping on the sides too much.
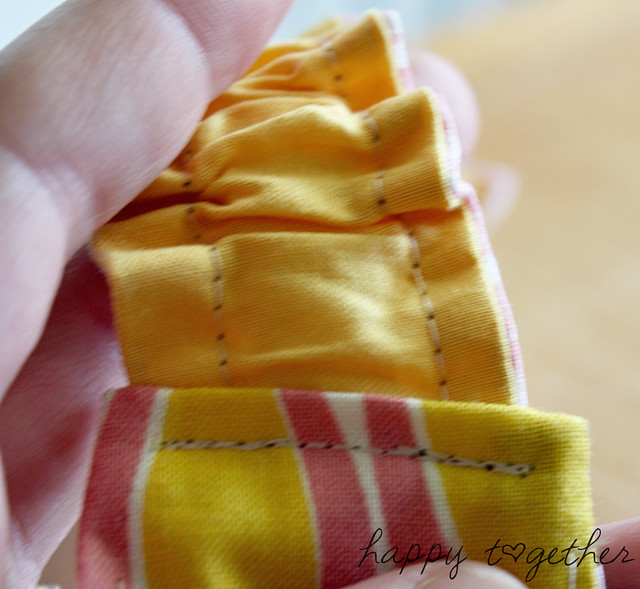
9. Now take the elastic cover piece and sew down each long side. This creates a middle casing for the elastic.
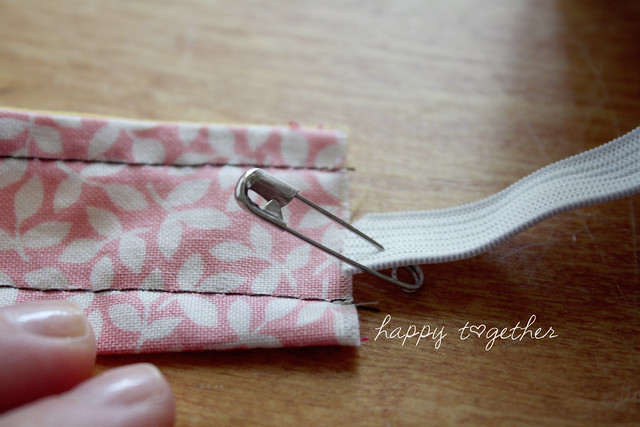
10. Add a safety pin to the end of the elastic and start to slide the elastic through the elastic cover. Make sure to stop before the end without the safety pin is inside.
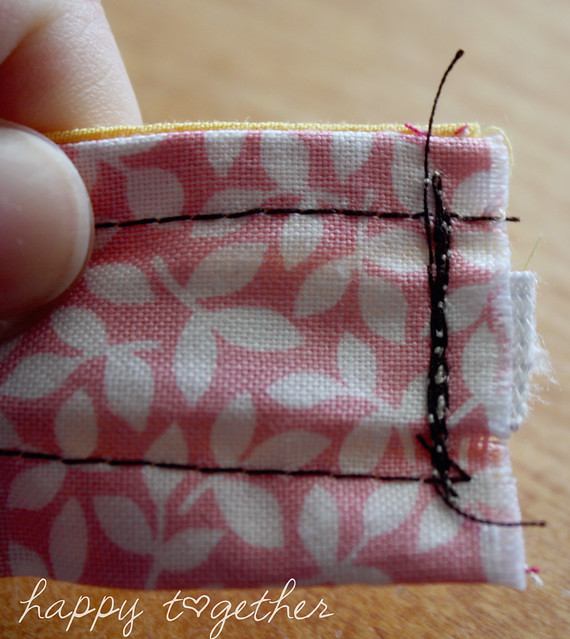
11. Once the side without the safety pin is at the opening, sew it in place so it won't go anywhere.
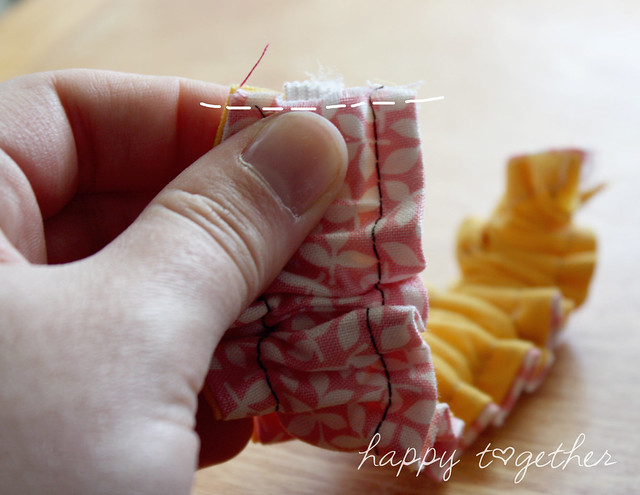
12. Continue to push the safety pin through the casing until the other end of the elastic is at the other edge. Sew that in place as well.
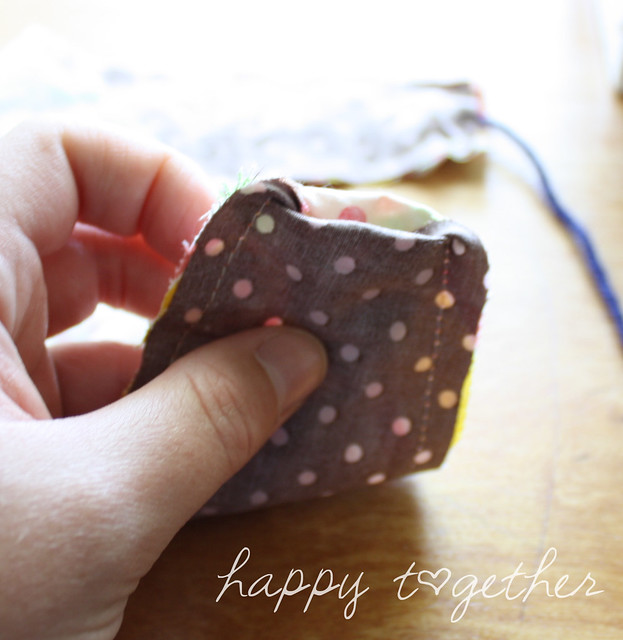
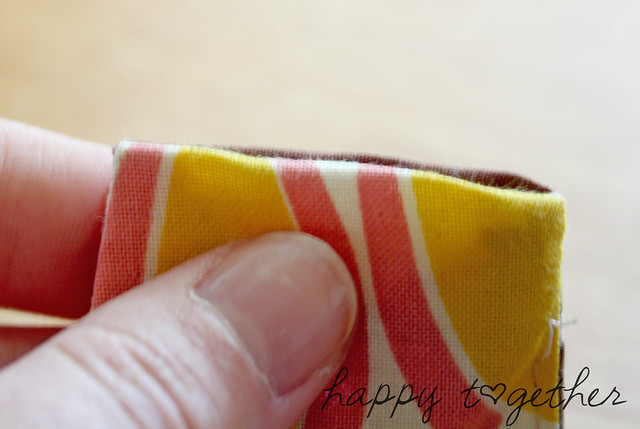
13. On each end of the headband piece,
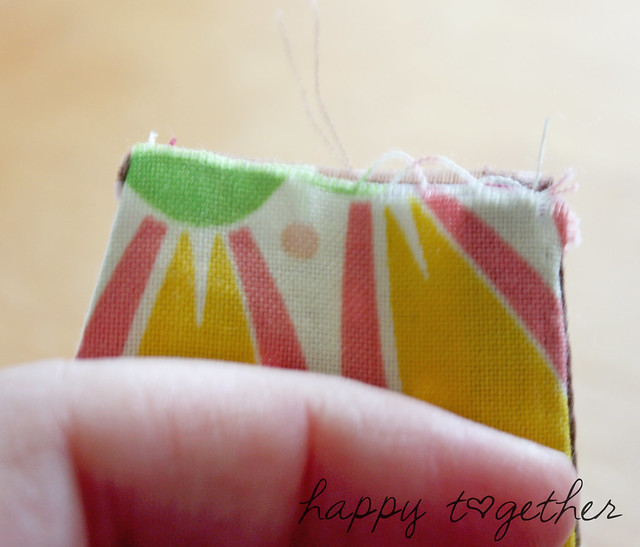
turn in some so no raw edges are showing.
14. Slip in the elastic band until the place where you sewed is no longer visible and sew in place.
15. Repeat #14 on the other side.
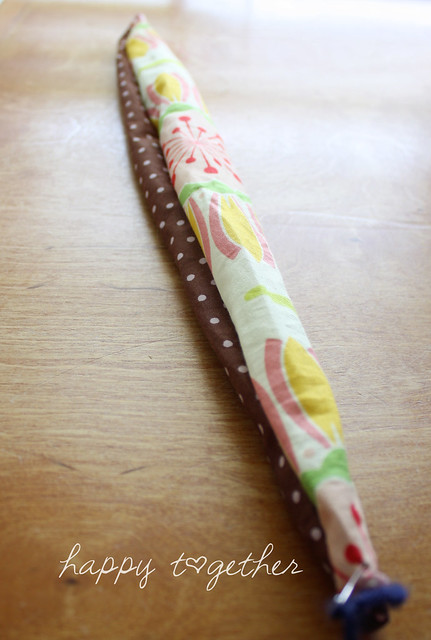
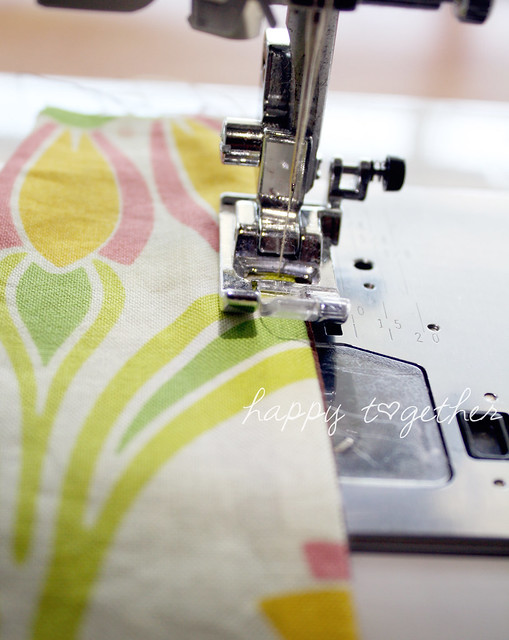
16. Top stitch the sides of the headband part if desired (I sew closer to the edge than 1/4").
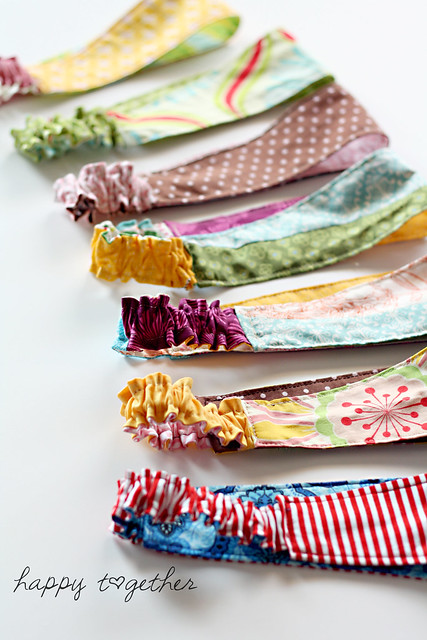
They are simple to make and if you plan it well you can whip up a bunch at the same time assembly line style like. Then you have a bunch for yourself or gifts for the ladies in your life :) Most of these will probably be Christmas presents. Great, huh? And it's only July!!!!!
If you make some, share with us in the flickr group or on the fb fanpage
No comments:
Post a Comment