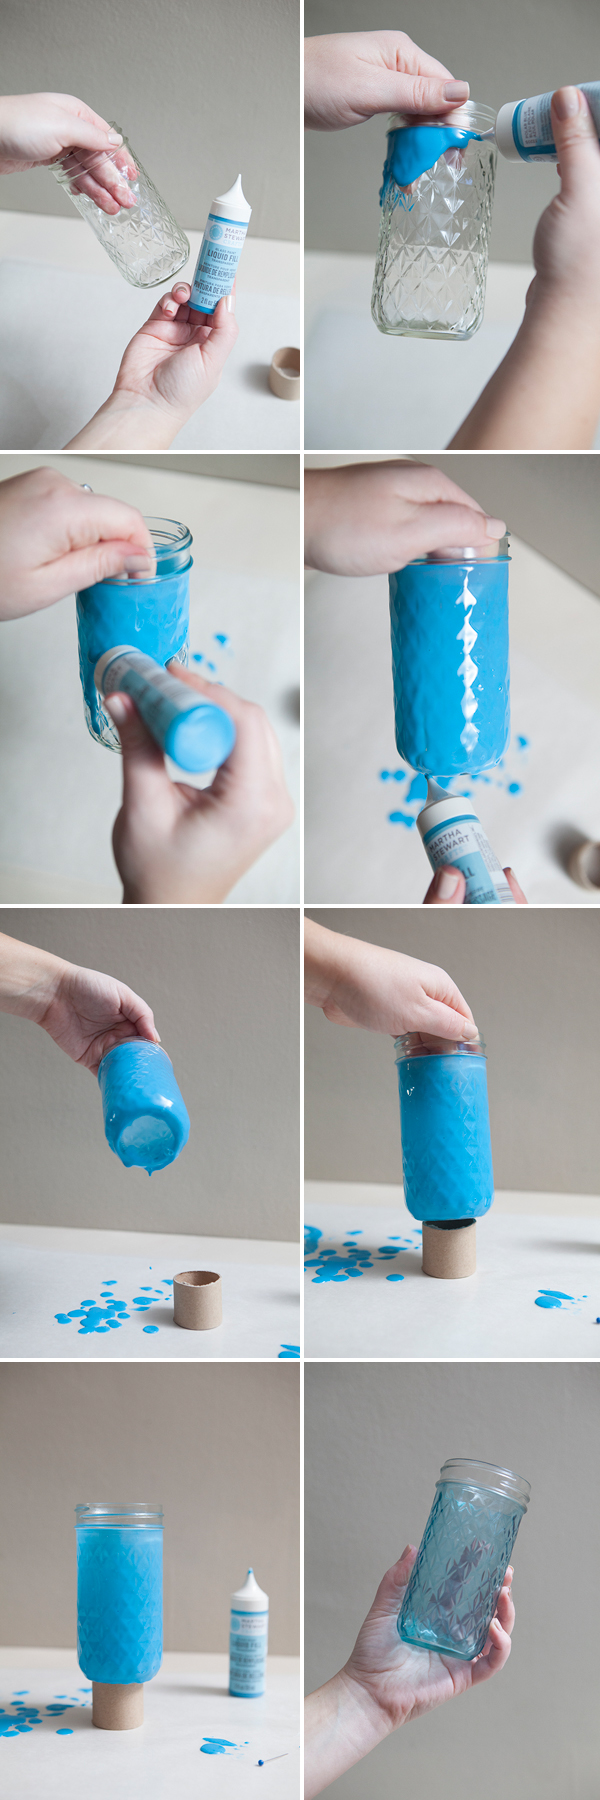
Take any mason jar you want to color and pour in Mod Podge. If you have a large mason jar you will need about an inch and a half of Mod Podge. Next add a couple drops of food coloring or food coloring gels. Now the color is going to look pastel because it's mixed with the white glue but it will end up drying just like the food coloring you chose. Mix it well with a stick or plastic spoon..
Then after it is mixed well you will want to swirl your paint around in the jar make sure to cover it solid. Don't use a brush, it will leave brush marks.
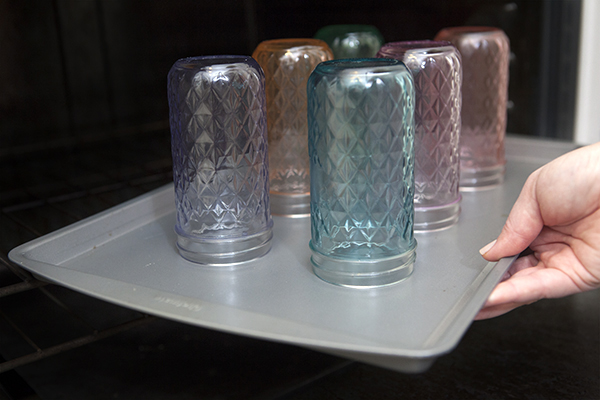
Now place the jar on a paper plate so any excess glue pours out. If you have a tun of excess you can let it drip into another jar, but there shouldn't be that much left in the jar. (Tip: If doing multiple jars just mix a whole bunch of Mod Podge and food coloring in a bowl and pour into each mason jar.) After the excess drips out (about an hour) Flip the mason jar over and let it dry. Depending on how warm your house is this could take 24-48 hours. Give plenty of time to dry.
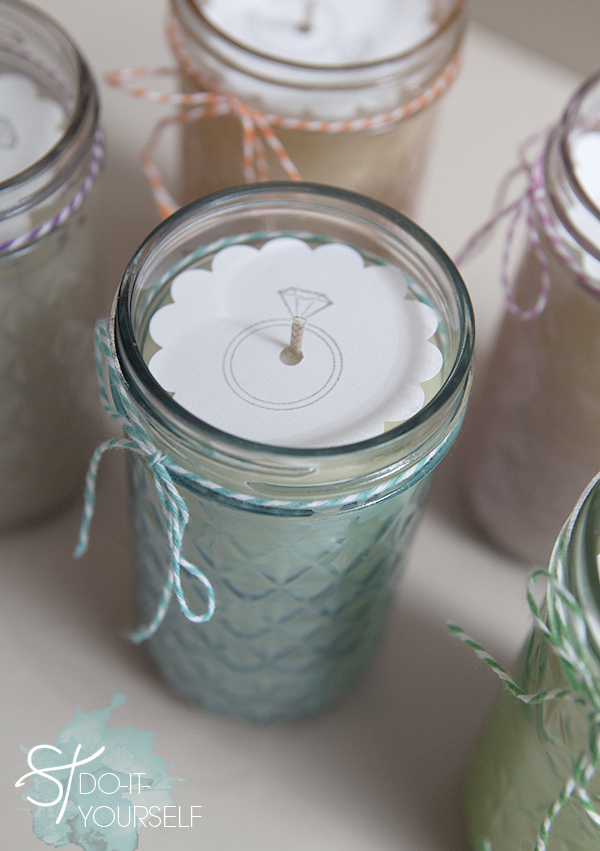
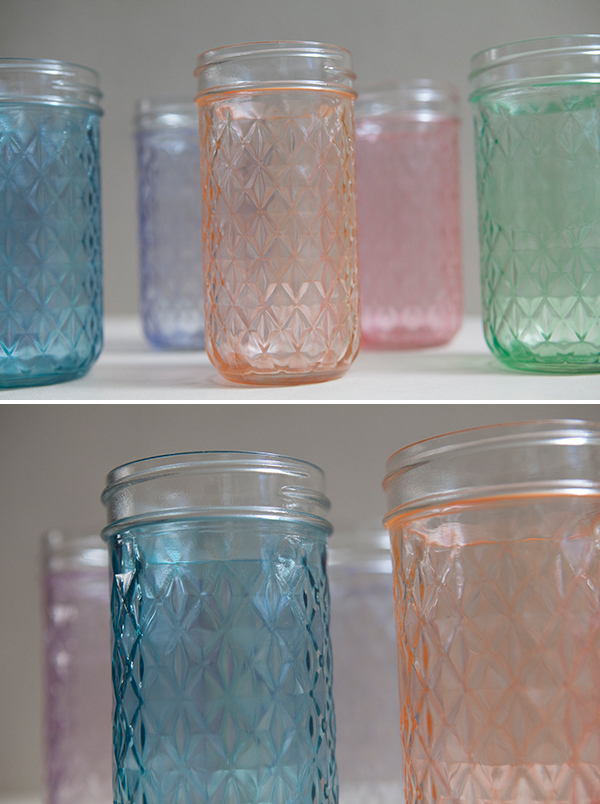
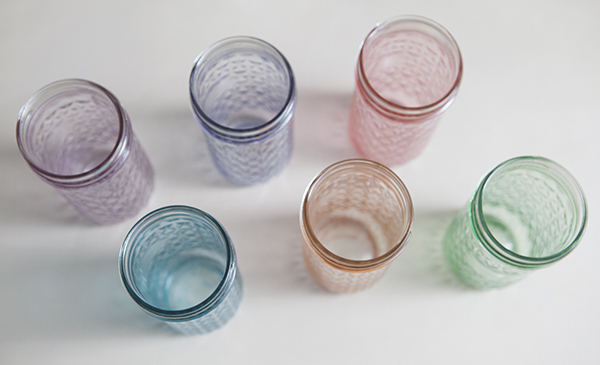
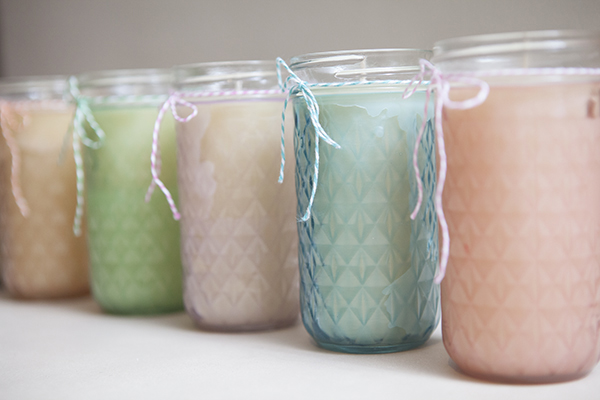
The finished product!
Now keep in mind these were made with glue so you cannot eat out of these or put food in them. These are for decoration only. Use it as a pencil holder or put a votive inside. Oh, and .... if you screw up and your jar doesn't look so hot when it dries you can peal off the glue and re-use the jar again.
Next up-Painted Jars with spray Paint

Take your regular mason jar or marinara jar, or pickle jar, or whatever you have that's clear and clean and wipe it dry and stand it up on a newspaper with no lid.
Now get your favorite high-quality spray paint. I like Krylon. It doesn't chip easily and it gives a nice even coat. I use gloss or satin. My gold mason jar was made with this exact gold leaf color. I bought all my spray paint at Hobby Lobby. Now spray the heck out of your jar (the outside of your jar). Let dry for 10 minutes and viola ~ you have a beautiful colored mason jar perfect for flowers, kitchen utensils, or anything else your little heart desires.

A sparkley, glittery, amazingly beautiful Glitter Mason Jar! I'm in love So is the lady who taught me how to do these
How to Make Glitter Mason Jars


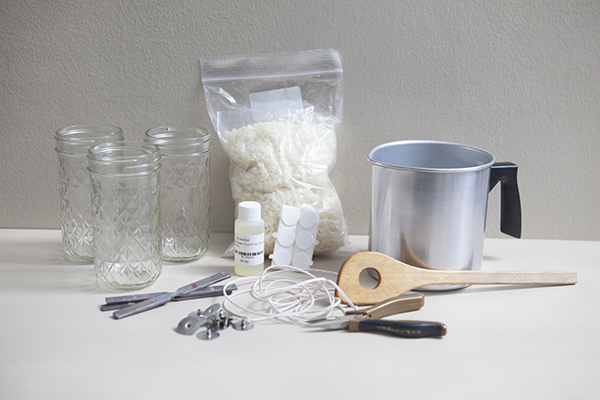
Here is your line up. Regular glitter (any color), Mod Podge, Mason Jars (or any clear jar). I purchased all of this from my local Michaels.

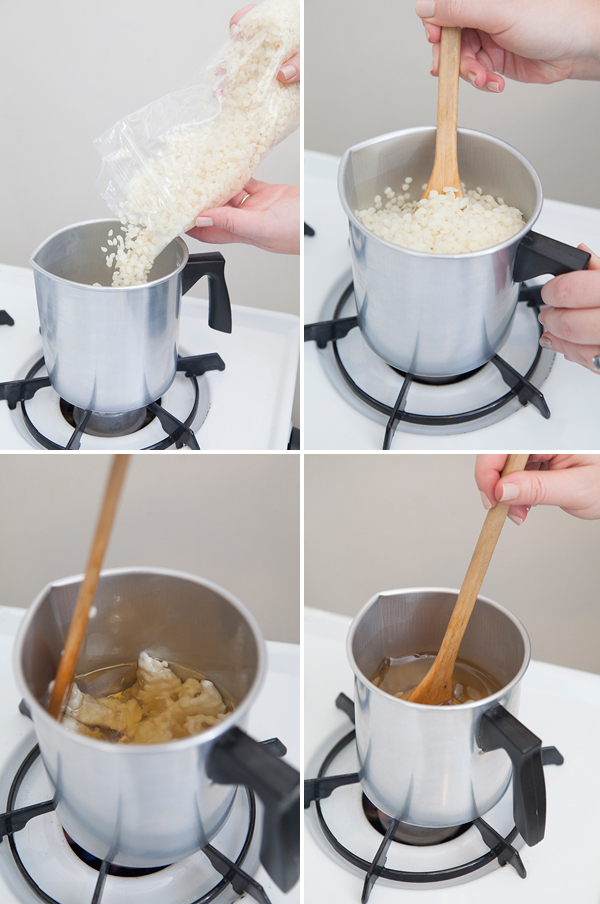
Pour a bunch of Mod Podge in your jar. About an inch deep if you are using a large jar.

Now pour your glitter in. The more glitter the more vibrant.

I used about 2 tablespoons for this small jar.
Mix your glitter and glue together. Make sure it's all combined.

Now use your hand to tilt the jar every which way until the glitter glue covers the entire jar. Make sure not to use a spatula or anything to scrape the sides because it will leave streaks. You need a good thick coating so just do as told and slide the glue around by tilting the jar only : )

Now place the jar on a paper plate so any excess glue pours out. If you have a tun of excess you can let it drip into another jar, but there shouldn't be that much left in the jar. (Tip: If doing multiple jars just mix a whole bunch of Mod Podge and glitter in a bowl and pour into each mason jar.) After the excess drips out (about an hour) Flip the mason jar over and let it dry. Depending on how warm your house is this could take 24-48 hours.
And there you go! Stunning right? Now just like the colored jars you cannot eat or drink out of these. We used glue so these are only for decor. For the glitter jar on the right I used a clear jar I had in the house. You can use salad dressing jars, pickle jars, anything clear. I just love these!
This was featured on Home and Family on the Hallmark Channel : )