Thursday, December 27, 2012

How to make a cool Burning Flame

How to make a cool Burning Flame


This Project is to be done by Adults and Supervised by Adults from Start to finish
as with anything Flammable Use all Extreme Caution and Safety Measures Wear rubber gloves and safety glasses when handling chemicals and COMMON SENSE
This Project is best done Outside

This Project is best done in a Cast Iron Cauldron and older one something maybe you found that at a Thrift store or an old rusty Cast Iron Pot or container you must Place the container on a tile or flat rocks


This is the Reason why Old Cast Iron Containers Will hold the chemcials and heat better and it must be an old container for once this is done burning it will leave a Film and the container will be Ruined forever
you can only use it for this purpose ONLY

All The Heat that is Generated from this Fire will leave a mark on the ground so please put a hot plate tile or Stones to prevent from burning the Ground
An old Rusted BBQ will work Perfect
you can never cook in it again or use it for anything except this project for this purpose

Once you have understood the precautions its alot of Fun and Exciting for the Children just please use all Safety measures so everyone can enjoy themselves


Here is a Video to Help Explain it Vadora has done this many times with her Children while Growing up
This is alot of Fun and Education for its SCIENCE!!!!!!!!!


What you need is
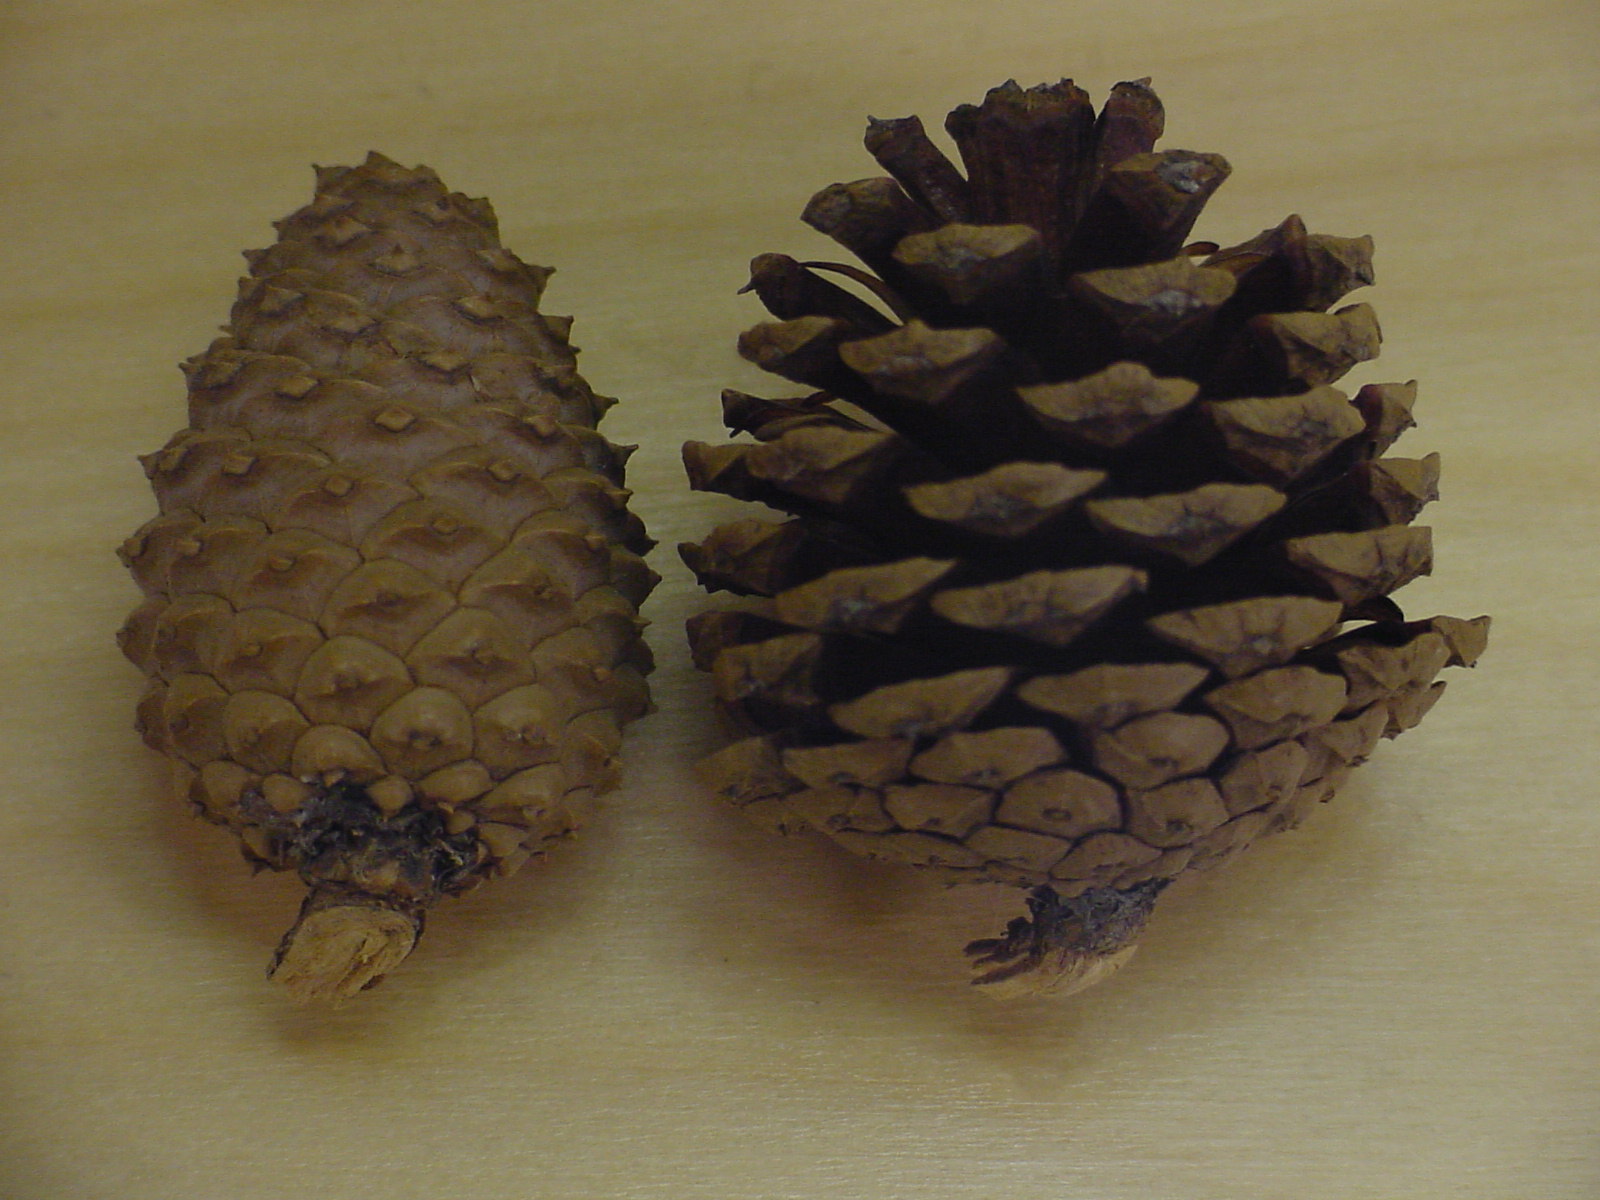
Pine Cones or woodchips or old Rolled up newspaper
Epson Salts
Boric Acid
Rubbing Alcohol
Gloves and Googles

Large bucket
Tongs or slotted spoon

Flat Stones or Tiles
a Cast Iron Pot an Old Cast Iron Pot or Cauldron works Great


Paraffin Wax
Long Fireplace / Grill Lighter


Step 1.


Dissolve the boric acid and Epsom Salts in a small amount of Rubbing alcohol. Soak the pine cones in the solution until well saturated, then remove to a rack or newspaper and allow to dry. 2- 3 days

When you are ready to burn them, you will get even better results if you have a spray bottle with rubbing alcohol handy and spray each pine cone before adding it to the fire.


In general, there is no specific proportion of colorant to mix with the water or alcohol. Add as much powdered colorant as will dissolve in the liquid (roughly a half pound colorant to a gallon of water). Do not attempt to mix colors together - you will probably end up with a normal yellow flame. If you want multicolored fire, try adding several pinecones, each treated with a single colorant, or scatter a mixture of dried colored sawdusts across the fire.


Technique #2
Melt paraffin over low heat and the dissolve the boric acid in it. Add the pine cones, one at a time and turn to coat. Remove to a rack or newspaper and allow to cool/harden.
In either case, you can make large quantities at once and use them throughout the season, or perhaps give bags of treated pine cones as gifts. You can also scent the pine cones by adding a few drops of an essential oil like cinnamon


What Is Happening?

When a metal or metal salt is burned, the input of thermal energy raises the electrons in the metal atom to a higher energy state. These electrons cannot remain in this excited state for too long and will emit energy in the form of light to return to the more stable, grounded state. It is this light we see when a metal atom is burned in a flame.
Each metal has a characteristic flame color which has been found to be useful in identifying minerals.


The secret to changing a pine cone tossed into your fire from a basic yellow flame into more dazzling colors like blue, purple, green, red, and white is saturating the pine cone with a solution that contains a color-providing chemical.

You mix the powder form of the chemical into a bowl or bucket of warm water and then soak the pine cones in it. After they've had a good soak, you pull them out to dry and when the water evaporates you're left with a pine cone soaked with the chemical. Want pine cones that flare up brilliant white? Make your solution with Epsom salts—the white flame comes from the magnesium in the salts. Many of the chemicals you'll need are available at your local pharmacy although for some of them you'll need to visit a specialty store like a hobby shop or chemistry supply store.

A quick and dirty way to make the pine cones, and the one pictured above, is to use boric acid powder—available in the laundry aisle. You won't get as strong of coloration, but you'll get a rainbow of colors thanks to the variety of chemicals in boric acid


List of coloring chemicals

Color = Chemical

Carmine = Lithium Chloride 100g

Red = Strontium Chloride 100g

Orange = Calcium Chloride 100g (a bleaching powder)

Yellow = Sodium Chloride 100g (table salt) or Sodium Carbonate

Yellowish Green = Borax 300g


Pink Lithium Chloride 100g

Gold Sparks Iron Fillings 50- 100g

Silver Sparks Aluminum Powder 50- 100g


Green = Copper Sulfate 200g ( from a hardware store )

Blue = Copper Chloride 125g

Violet **Will smoke a ton** = 3 parts Potassium Sulfate 1 part Potassium Nitrate (saltpeter)

Purple = Potassium Chloride 100g

White = Magnesium Sulfate (Epsom salts)

December 28, Reindeer Full Moon-Last Moon of 2012

December 28, THE LAST FULL MOON OF 2012 IS:
I love Winter Magik, but Summer is my favorite because of swimming in the water, my element. )O(

<3 Snow Leopard <3
Reindeer Moon-time to reconnect with the natural world. As an individual or as a group, take a walk, hug a tree, enjoy the quiet calm of your nature world. Do a cleansing of your home, self, your tools if needed. Offer a prayer of thanks, breathe deeply allowing your awareness to open and cleanse. Focus on hearing what's around you. Close your eyes and take a few moments to listen, what do you hear. Next take a moment and focus on your sense of touch, feel the ground, touch a tree, rocks, open your mouth and feel the air, breathe in slowly and release, taste the wind. Focus on your sight, look around you take in the beautiful nature, find the beauty around you.
Feel yourself tune into the nature around you. Open all 5 senses to your surroundings and wander a bit, where does nature call you? Feel the connection with nature and let it release and revive you.

New Wreath Inspirations


Christmas wreaths in candy colours...

This wreath gives me new Ideas for the coming year
be sure to check out this lady's work

Getting New Year Inspirations


Wednesday, December 26, 2012

Christmas List ornament

Today I am here sharing my super easy Christmas List ornament tutorial! I was inspired by this ornament from Pinterest (I'm a Pinterest junkie–follow me!)
Super cute right? Here's mine:
Normally I put my own twist on my Pinterest-inspired projects, but this one didn't have too much room for variation. I loved the red and everything. But what I did to make it personal was to make one for each member of my family and write on the list the things they want for Christmas this year! Here's what you need to start:
  • Wooden spools (I bought at Hobby Lobby, they were pretty cheap.)
  • Red Paint –or whatever color you choose. I used Red by Deco Art (Great paint products!)
  • Paint brush
  • Not shown is thin ribbon, white cardstock, rubber bands and hot glue. I also just used a Sharpie but it's better if you have a fine tipped black ink pen. (What can I say, I'm low on scrapbooking supplies. I don't scrapbook.)
First you paint the spools red. (Like you need a picture of this…)
Then you cut out strips of cardstock the same width as the inside of the spool and about 10 inches long. You can trim it later if you want. I used hot glue to glue one end of the cardstock to the spool, just a thin strip of glue. Then I wrapped it around, leaving a good size tail and secured it with another strip of hot glue and then with a rubber band. After that I wrote out the list in pencil and went over it in marker. It was tricky to write nicely so I went for a child's handwriting look, which I wanted anyway!

Here's where you can add a tag for whosever list it is or just write it at the top of the list. After this step you can just thread the thin ribbon through the middle of the spool and tie it together. Then take off the rubber band and done! Once you hang it on the tree you will realize it doesn't need anymore embellishment.
I really love these ornaments. They were so easy to make so and so personal. And looking back you can remember what you or your kids wanted for Christmas that year! These would also make a great craft activity for church or youth groups. The spools and paint are pretty inexpensive.

Tuesday, December 25, 2012

10 HEALTH BENEFITS OF GINGER

~~10 HEALTH BENEFITS OF GINGER~~

1.Ovarian Cancer Treatment

Ginger may be powerful weapon in the treatment of ovarian cancer. A study conducted at the University of Michigan Comprehensive Cancer Center found that ginger powder induces cell death in all ovarian cancer cells to which it was applied.

2.Colon Cancer Prevention

A study at the University of Minnesota found that ginger may slow the growth of colorectal cancer cells.

3.Morning Sickness

A review of several studies has concluded that ginger is just as effective as vitamin B6 in the treatment of morning sickness.

4.Motion Sickness Remedy

Ginger has been shown to be an effective remedy for the nausea associated with motion sickness.

5.Reduces Pain and Inflammation

One study showed that ginger has anti-inflammato ry properties and is a powerful natural painkiller.

6.Heartburn Relief

Ginger has long been used as a natural heartburn remedy. It is most often taken in the form of tea for this purpose.

7.Cold and Flu Prevention and Treatment Ginger has long been used as a naturaltreatment for colds and the flu. Many people also find ginger to be helpful in thecase of stomach flus or food poisoning, which is not surprising given the positive effects ginger has upon the digestive tract.

8.Migraine Relief

Research has shown that ginger may provide migraine relief due to its ability to stop prostaglandins from causing pain and inflammation in blood vessels.

9.Menstrual Cramp Relief

In Chinese medicine, ginger tea with brown sugar is used in the treatment of menstrual cramps.

10.Prevention of Diabetic Nephropathy

A study done on diabetic rats found that those rats given ginger had a reduced incidence of diabetic nephropathy (kidney damage).
‎~~10 HEALTH BENEFITS OF GINGER~~

1.Ovarian Cancer Treatment

Ginger may be powerful weapon in the treatment of ovarian cancer. A study conducted at the Univer...sity of Michigan Comprehensive Cancer Center found that ginger powder induces cell death in all ovarian cancer cells to which it was applied.

2.Colon Cancer Prevention

A study at the University of Minnesota found that ginger may slow the growth of colorectal cancer cells.

3.Morning Sickness

A review of several studies has concluded that ginger is just as effective as vitamin B6 in the treatment of morning sickness.

4.Motion Sickness Remedy

Ginger has been shown to be an effective remedy for the nausea associated with motion sickness.

5.Reduces Pain and Inflammation

One study showed that ginger has anti-inflammato ry properties and is a powerful natural painkiller.

6.Heartburn Relief

Ginger has long been used as a natural heartburn remedy. It is most often taken in the form of tea for this purpose.

7.Cold and Flu Prevention and Treatment Ginger has long been used as a naturaltreatment for colds and the flu. Many people also find ginger to be helpful in thecase of stomach flus or food poisoning, which is not surprising given the positive effects ginger has upon the digestive tract.

8.Migraine Relief

Research has shown that ginger may provide migraine relief due to its ability to stop prostaglandins from causing pain and inflammation in blood vessels.

9.Menstrual Cramp Relief

In Chinese medicine, ginger tea with brown sugar is used in the treatment of menstrual cramps.

10.Prevention of Diabetic Nephropathy

A study done on diabetic rats found that those rats given ginger had a reduced incidence of diabetic nephropathy (kidney damage).

Sunday, December 23, 2012

Making tiny Pom Poms

Holiday ABC Series: Y is for Yarn Poms

A repost by:
by Marie on December 19, 2012
These mini yarn pom poms for our letter Y in our Holiday ABC series are so much fun to make. Your kids can help by doing the wrapping. It’s the perfect craft to make for fun holiday decor.

Supplies for Mini Yarn Pom Poms:
  • colorful yarn – 3-4 feet per pom
  • scissors
1. Wrap your choice of yarn around 2 fingers about 25-30 times around.
2. Carefully remove the wrapped yarn off of your fingers and tie a separate piece of 4-5 inch yarn around the whole wrapped piece. Tie it as tight as you can into a knot, tight!

3. Take your scissors and cut all the “loops” off of the yarn. With your fingers spread out the yarn and make sure you cut all the loops.

4. Trim up your pom to make it an even size all around.

Now they are ready for crafting!

Here’s a few ideas for using your Mini Yarn Pom-Poms:
  • take some thread and a needle and string them together in a line to make a garland. You could put 30-40 of these together and string up enough to go around your tree.
  • leave one of your yarn strings a little longer to loop to make it into an ornament.
  • glue on some googly eyes and a paper beak to make a few Angry Birds to add to the tree or get out some holiday aggression :)
  • make some pom pom jewelry by gluing these mini’s onto a blank ring or earring posts to give as gifts